I have such a fun time making a little forest of these fabric trees every year so it only feels right to share the process! They add the perfect touch of homespun warmth to any holiday display, make wonderful gifts and always sell well at winter markets. Plus, you may be able to use up some materials you already have in your closet or fabric stash, especially if you have old wool sweaters or blankets on hand. I often add fleece scraps and remnants as well, but attempt to incorporate some amount of felted wool into each tree. This helps me feel like my identity as a felt artist carries through to each piece.
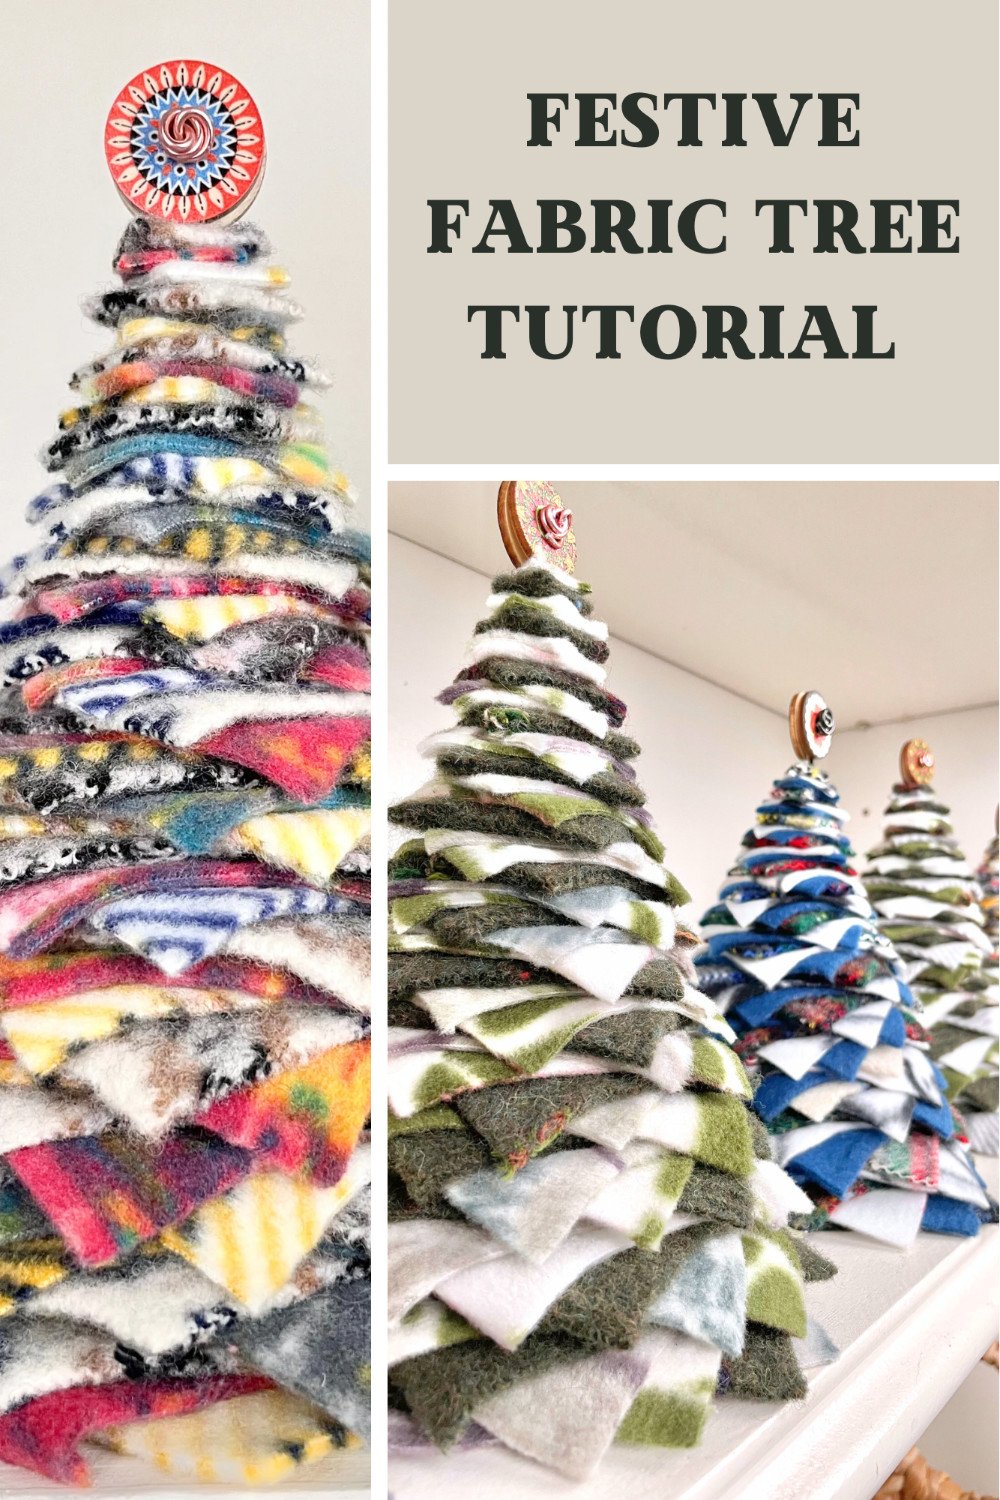
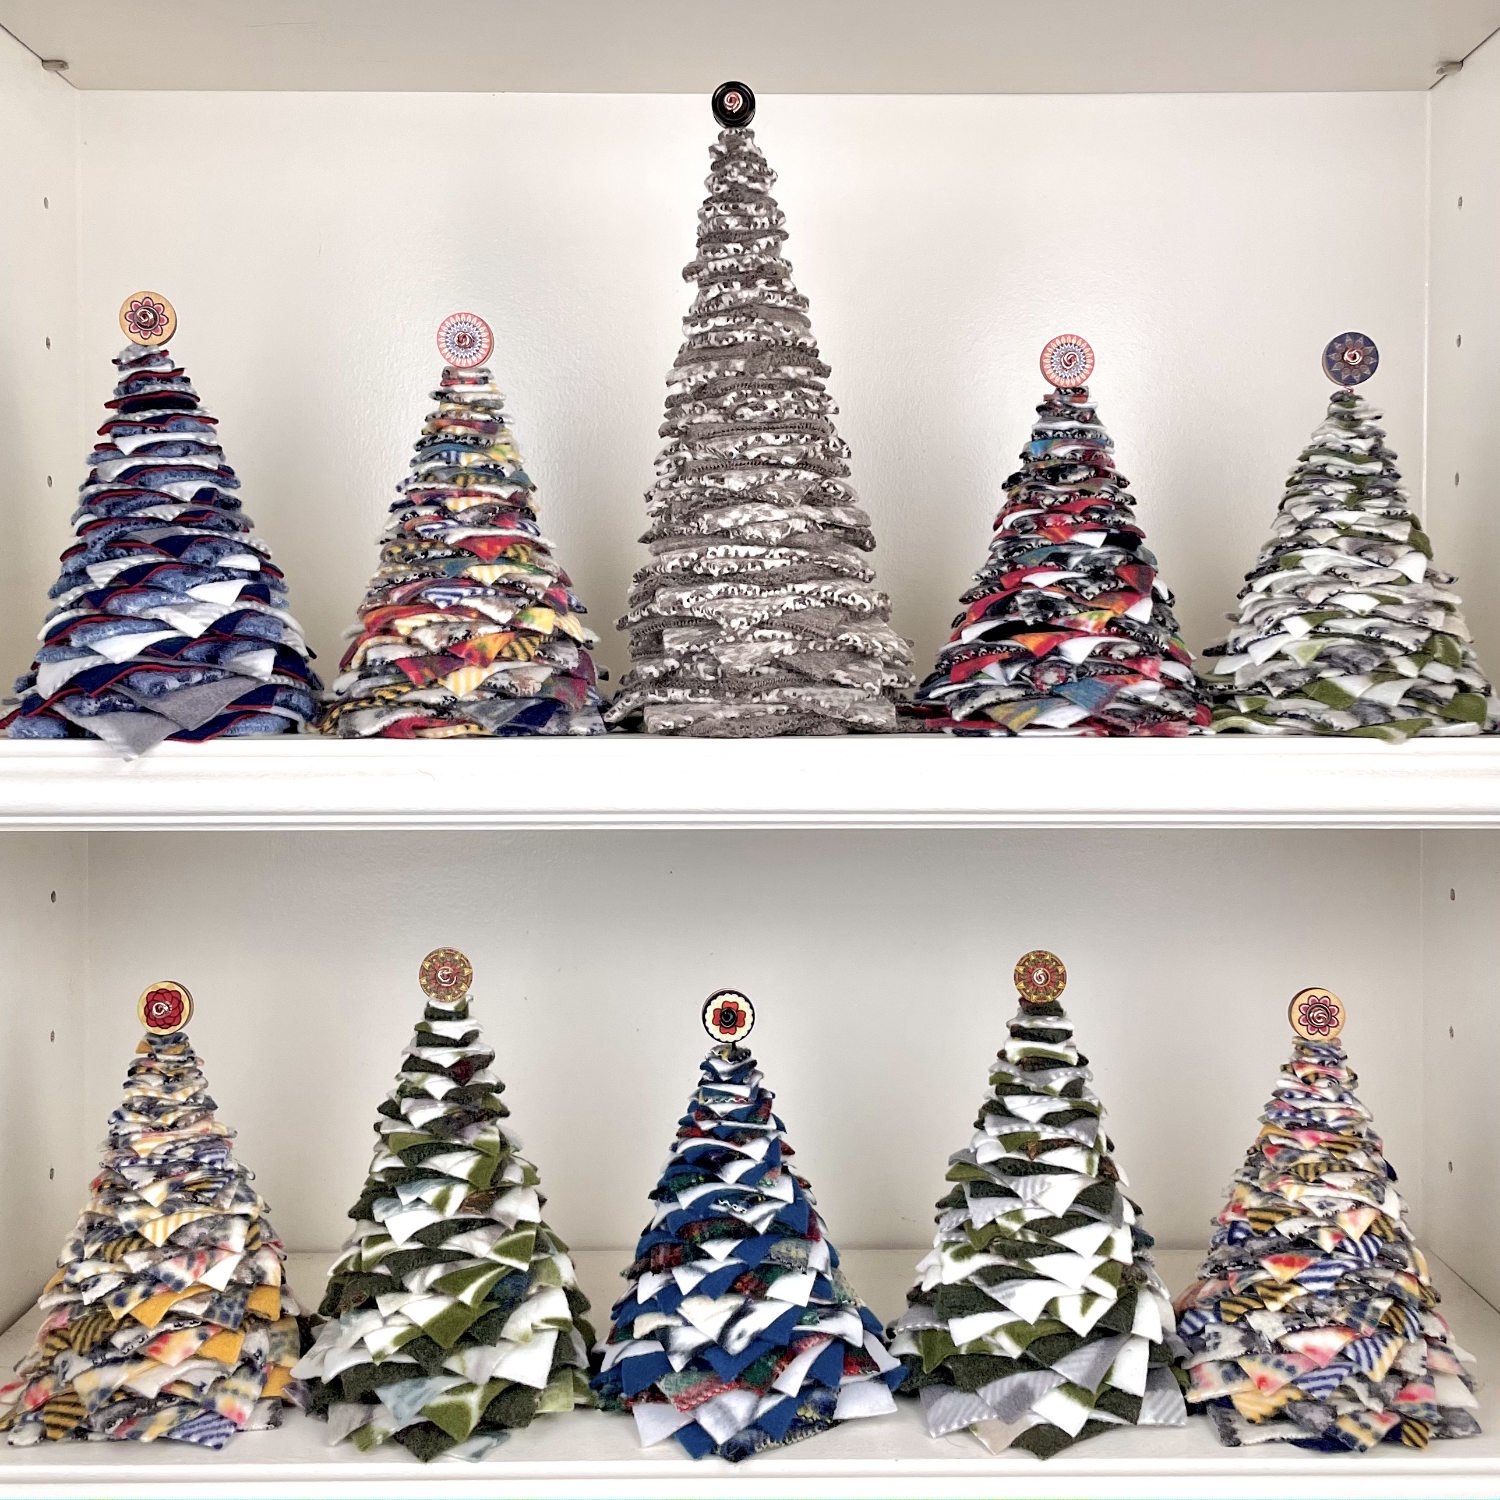
First I’ll walk you through how I made a tree simply using one wool sweater. Then I’ll give details on how to add fleece so you can really get creative with fun color combinations and designs. After that you’ll be on your way to crafting your very own festive forest!
Disclaimer: As an Amazon Associate I earn from qualifying purchases. These are products I use myself and would recommend regardless.
Gathering and Preparing the Fabric
I started with a thrifted wool sweater which I felted in my washing machine. The agitation of running the sweater through the washer shrinks the fibers in on one another making a more dense and compact textile that doesn’t fray or fall apart when cut. When choosing a sweater to felt you’ll need to make sure that the majority of the fiber is wool or some other animal fiber. Somewhere over 70% natural fibers will probably felt although this isn’t always completely predictable. In addition, a dry clean only label is usually a good indication that the fibers haven’t been treated to prevent felting.
I ran my sweater through the wash on a hot cycle and then allowed it to air dry. (Helpful Hint: Placing the sweater in a pillowcase with a tied off end will help keep all the lint contained.) When there is no longer definition in the stitches the fabric should be good to go! I chose to air dry my sweater because it was so firmly felted after the wash. If the sweater is run through the dryer it will continue to shrink down if you feel more felting is needed.
Cutting the Fabric
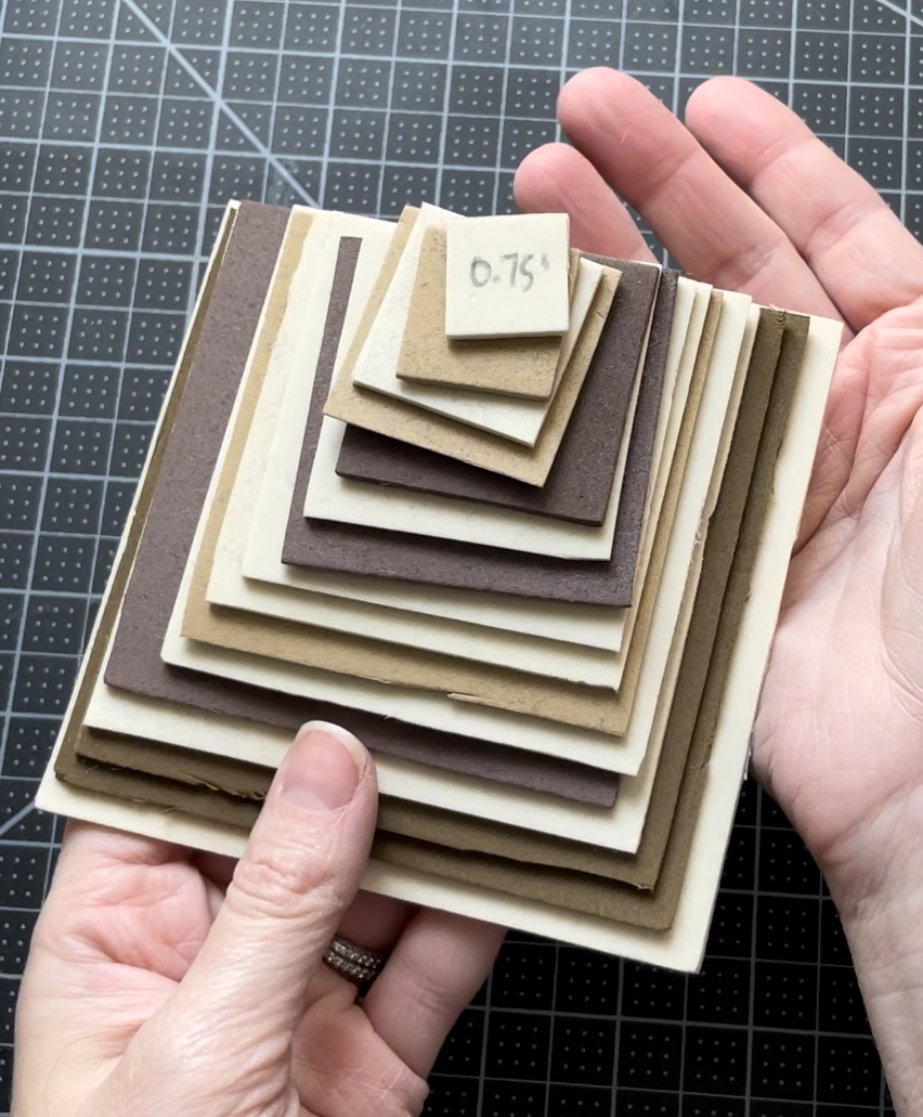
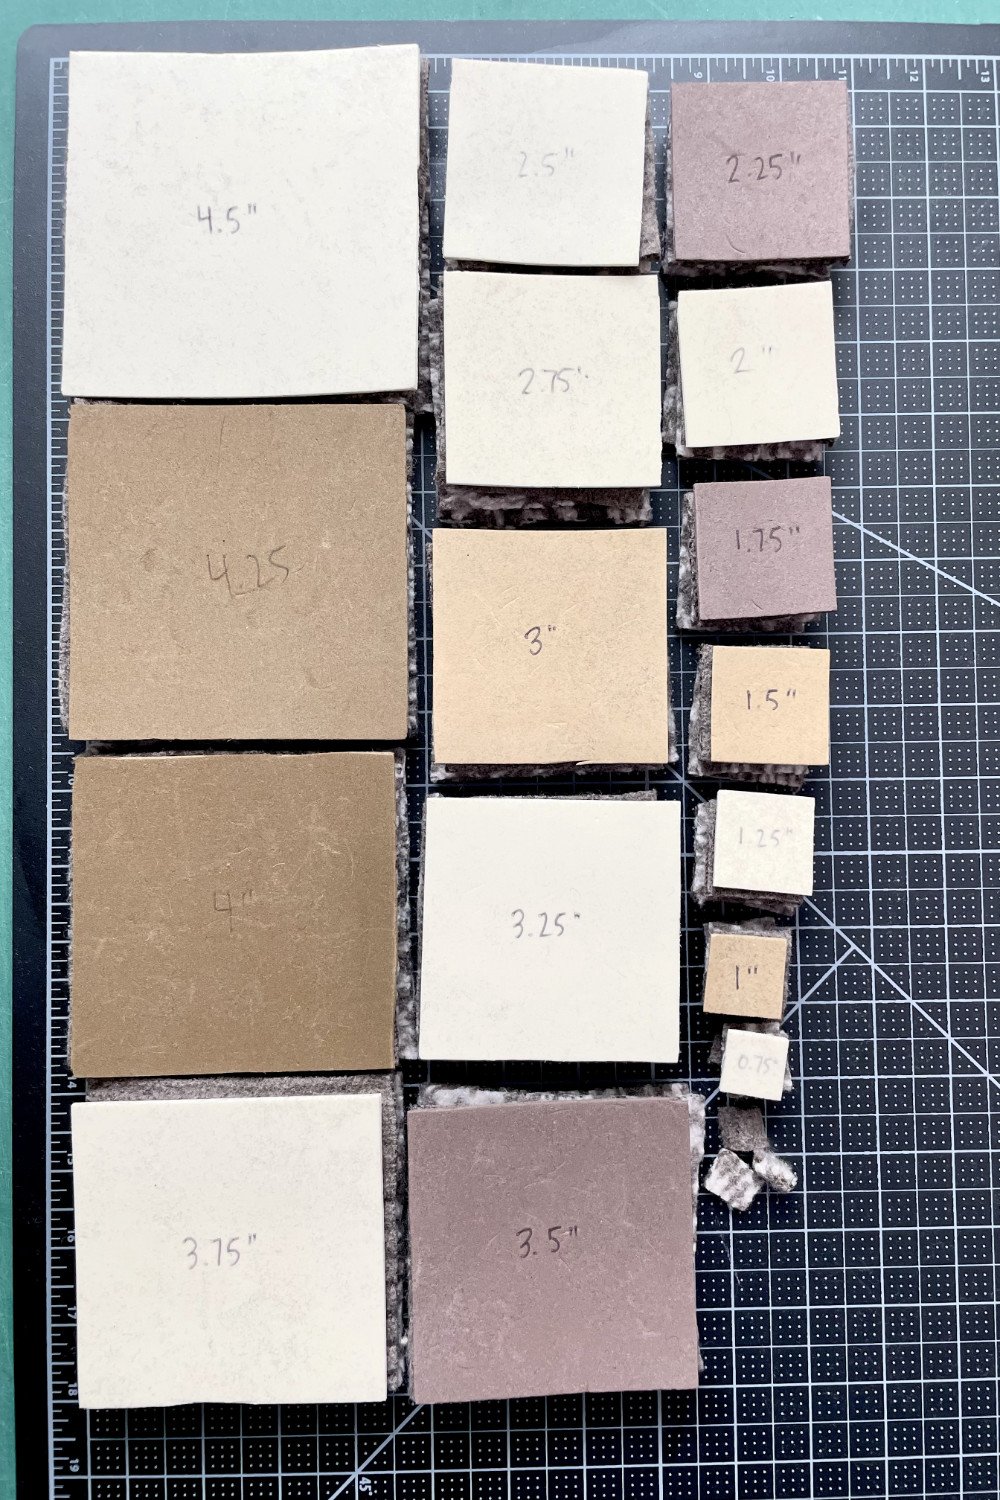
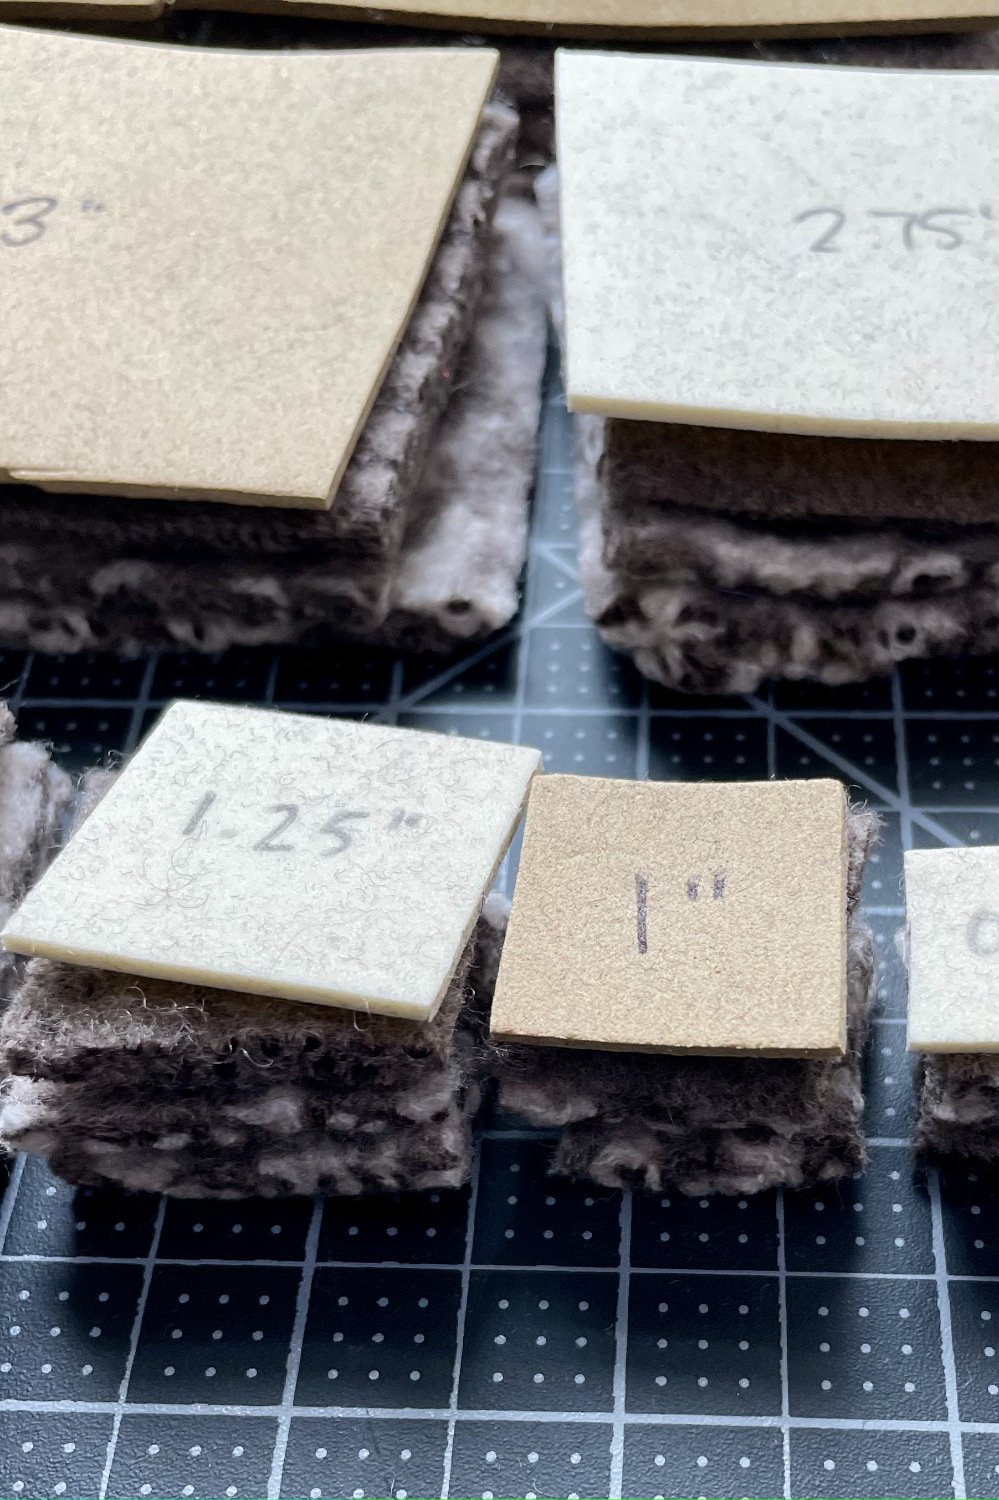
For my trees, I cut three squares of fabric that decrease in 0.25” increments starting at 4.5” and working my way down to 0.5”. Meaning I cut out three 4.5” squares, three 4.25” squares, three 4” squares and so on until I have three of every size. You can measure out your squares using a quilting ruler or create some square templates out of craft foam sheets, heavy cardstock or cardboard. This is especially recommended if you plan on making several trees.
I used foam sheets to create my templates simply because that’s what I had handy and they have worked well for me through multiple seasons. I cut one of each size square using a quilting ruler to measure. I also labeled each square front and back so the exact size can be clearly seen. I feel like these have saved me a lot of time in the long run not having to measure every cut.
Lastly, I chose to wear a face mask when cutting my fabric. I have found that if I’m sitting down to cut enough fabric for multiple trees wearing a mask cuts down on my overly-sensitive nose getting irritated by the fine fibers that can get released while working.
Next I started cutting! You can use a rotary cutter and self-healing cutting mat or scissors. This year I invested in an electric rotary fabric cutter and it saved me a ton of time and physical effort. It allowed me to cut through the thick wool effortlessly and when I moved on to using fleece I was able to easily cut 5 layers at once. It even has a built in blade sharpener so when the cutter starts to dull it can quickly be sharpened. The one drawback I found is that it seemed easy to hit the button to activate the blade when picking up the device so I had to be very careful. Overall I think this is an awesome tool but it is definitely a serious piece of equipment and should be used with extreme care and caution. I would certainly keep this product away from children and unplug it when not in use in addition to following all safety instructions provided by the manufacturer.
Assembling the Trees

To assemble the trees I decided to thread my squares onto jewelry wire to help maintain a nice shape. I like the15 gauge and have it in both copper and black but there are also other colors to choose from. I cut a piece of wire long enough to thread through all of the squares and made sure there was an extra 6 or 7 inches of wire beyond that. With the extra wire I created a base for the tree and also created an attachment point for the tree topper.
To make the base I formed a circle with the wire and then poked the remainder of the wire straight up through the circle so it looked like the image provided.
Next, I cut the top of the wire at an angle with some wire cutters to allow it to slide through the fabric squares more easily. (Caution: Protective eye wear should be worn when cutting wire.)
Finally I began stacking the squares moving from largest to smallest in size. I placed all three 4.5” squares, rotating each square as I put it on so the points went in different directions and created a fuller tree shape. I continued threading, rotating and stacking the squares moving down in size until all of the squares were placed.
Adding the Topper
Once all the squares had been stacked it was time to place a topper. The sweater I used had buttons which I repurposed for this. You could use any you have on hand provided the wire will fit through the holes or you could try purchasing decorative buttons. I grabbed a pack of 100 vintage wood buttons that have a variety of fun patterns which work well with a variety of colorways. I was really pleased with them and the 15 gauge wire I had fit nicely through the button holes. I followed these steps to create the topper:
I cut the wire I’d been threading so there was about an inch of exposed wire sticking out of the top of the tree.
I used a small pair of pliers to curl the top of the wire into a small circle.
I cut a separate piece of wire about 2-3” long and bent it to loop through the button holes.
I placed one of the wire prongs coming out of the back of the button through the small circle at the top of the tree and pushed the button flush against the circle with the prongs pointing straight out.
I clamped the small circle tightly closed around the wire prong going through it to hold in place.
I threaded another button through the wire prongs to hide the small circle.
Finally I twisted the remaining wire into a decorative rosette and clamped it into place with pliers.
Finishing Touches

To complete the project, I attached a scrap of fabric to the bottom of the tree using Aleene’s Fabric Fusion. This serves to cover the exposed wire and create a finished bottom that won’t scratch surfaces. Since it isn’t visible you can use any fabric you’d like.
I also ran a lint roller over the outside of my tree working from top to bottom. Not only does this rid the tree of the large annoying bits of fluff that may be stuck to the edges of the fabric but it also creates a nice tree shape by getting the corners angled downward.
Last, I took a final look at the shape of my tree and twisted and turned my squares until I was happy with the overall look. If you’d like to prevent your squares from moving once you decide on a final shape, a small dot of fabric glue can be added between squares to keep them in place.
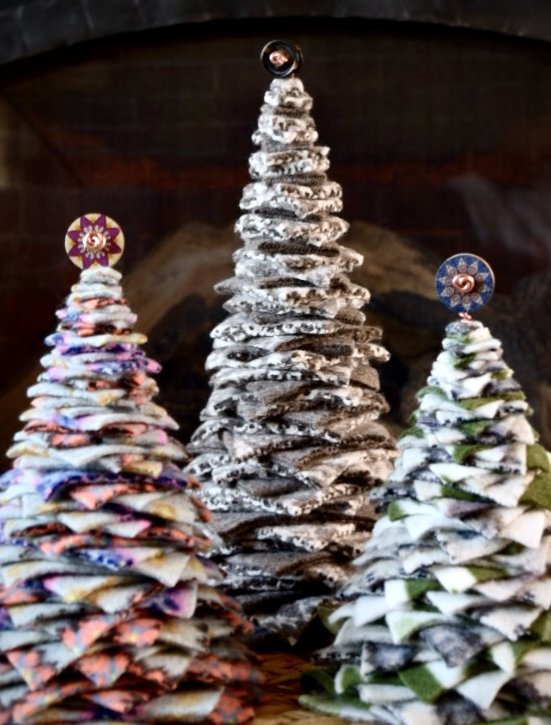
Variations

If you would like to incorporate fleece scraps and different colors into your tree design here’s how! This variation is honestly my favorite method and what I create most often. I usually just don’t have enough wool fabric to create large quantities of trees and I often have fleece scraps on hand or can buy fleece remnants on clearance from the fabric store very inexpensively. The best part of this method is that it allows you to create whimsical and stylized designs by playing around with colors and patterns.
The basic process is the same except you’ll start with three different fabrics. I like to use one felted wool fabric and two separate fleece designs.
You’ll cut squares as before but you’ll only need one of each size from each of your three fabrics.
When you thread them onto your wire you’ll create a pattern with your colors as you stack them. For instance, you may do one green 4.5” square of felted wool, then one red 4.5” square of fleece, then one white square of fleece, followed by the green 4.25” square of felt, 4.25” square of red, 4.25” square of white and so on.
Again, I rotate each square a little as I place it. If you’re methodical in your placement you can achieve a spiral of color that is quite eye-catching!
Helpful Hints
When working with the fleece, your wire probably won’t want to poke through the fleece very well. I use the tip of an exacto knife to create a hole in the center of each square before threading. I find the easiest way to do this is by placing my square on a self-healing cutting mat, placing the point of my exacto knife directly in the center of the square and then pulling up lightly on the square with my other hand. I often do more than one square at a time. (Warning: Exercise caution when using a sharp blade like this and keep out of reach of children.)
The thickness of the fabrics you choose will affect the overall shape and height of your tree. Thicker fabrics will make a tall, skinny tree while thinner fabrics will give a more short and stout look.
Play with color combos, have fun and feel free to modify! Want a taller tree? Add some stacks of larger squares to the base! Don’t have enough fabric for one of each square? Try a totally random stack of colors instead of creating a pattern! Don’t want to use a wire or topper? Just use fabric glue to stack your squares together! There are so many ways to change up this project so really let your creativity fly.
Conclusion
I hope you’re feeling inspired to created your very own festive forest and use up some of those remnants or sweaters you may have collecting dust. Whether you use them to decorate your own home, gift them to others (they’re great for teachers, mail carriers, hair dressers, etc.) or sell them at a holiday market, they’re sure to brighten up any holiday display!